My family is watching the baseball Home Run Derby so I thought I would add something new to my blog.
A few months ago I made an alphabet baby quilt. My daughter teaches preschool and ask if she could have it for her class room. Here are a few pictures of the quilt and her students playing on it.


Hand Applique
In the next couple of post I thought I would share with you some ways to hand applique. There are the two methods that I have used for applique. The two methods are needle-turn and fusible web applique. Instead of doing them all at once I thought I would do one each time. The first one that I am going to teach you is
Needle Turn Applique
Needle turn applique is the most traditional form of applique. You need no additional supplies than a needle and thread. It is the method that you will want to use for very narrow or small pieces
Directions
1. Trace your pattern. You can use many different kinds of material. It can be traced on paper, light cardboard, or freezer paper. If using freezer paper trace the pattern on the unwaxed(dull) side. If the patterns are directional, reverse them. Cut out the templates on the traced lines. If you are using a pattern that you can cut out, you can skip this step.
2. Place your templates on the right side of your chosen fabric. Leave at least 3/4 of an inch between each piece, if tracing more than one piece.

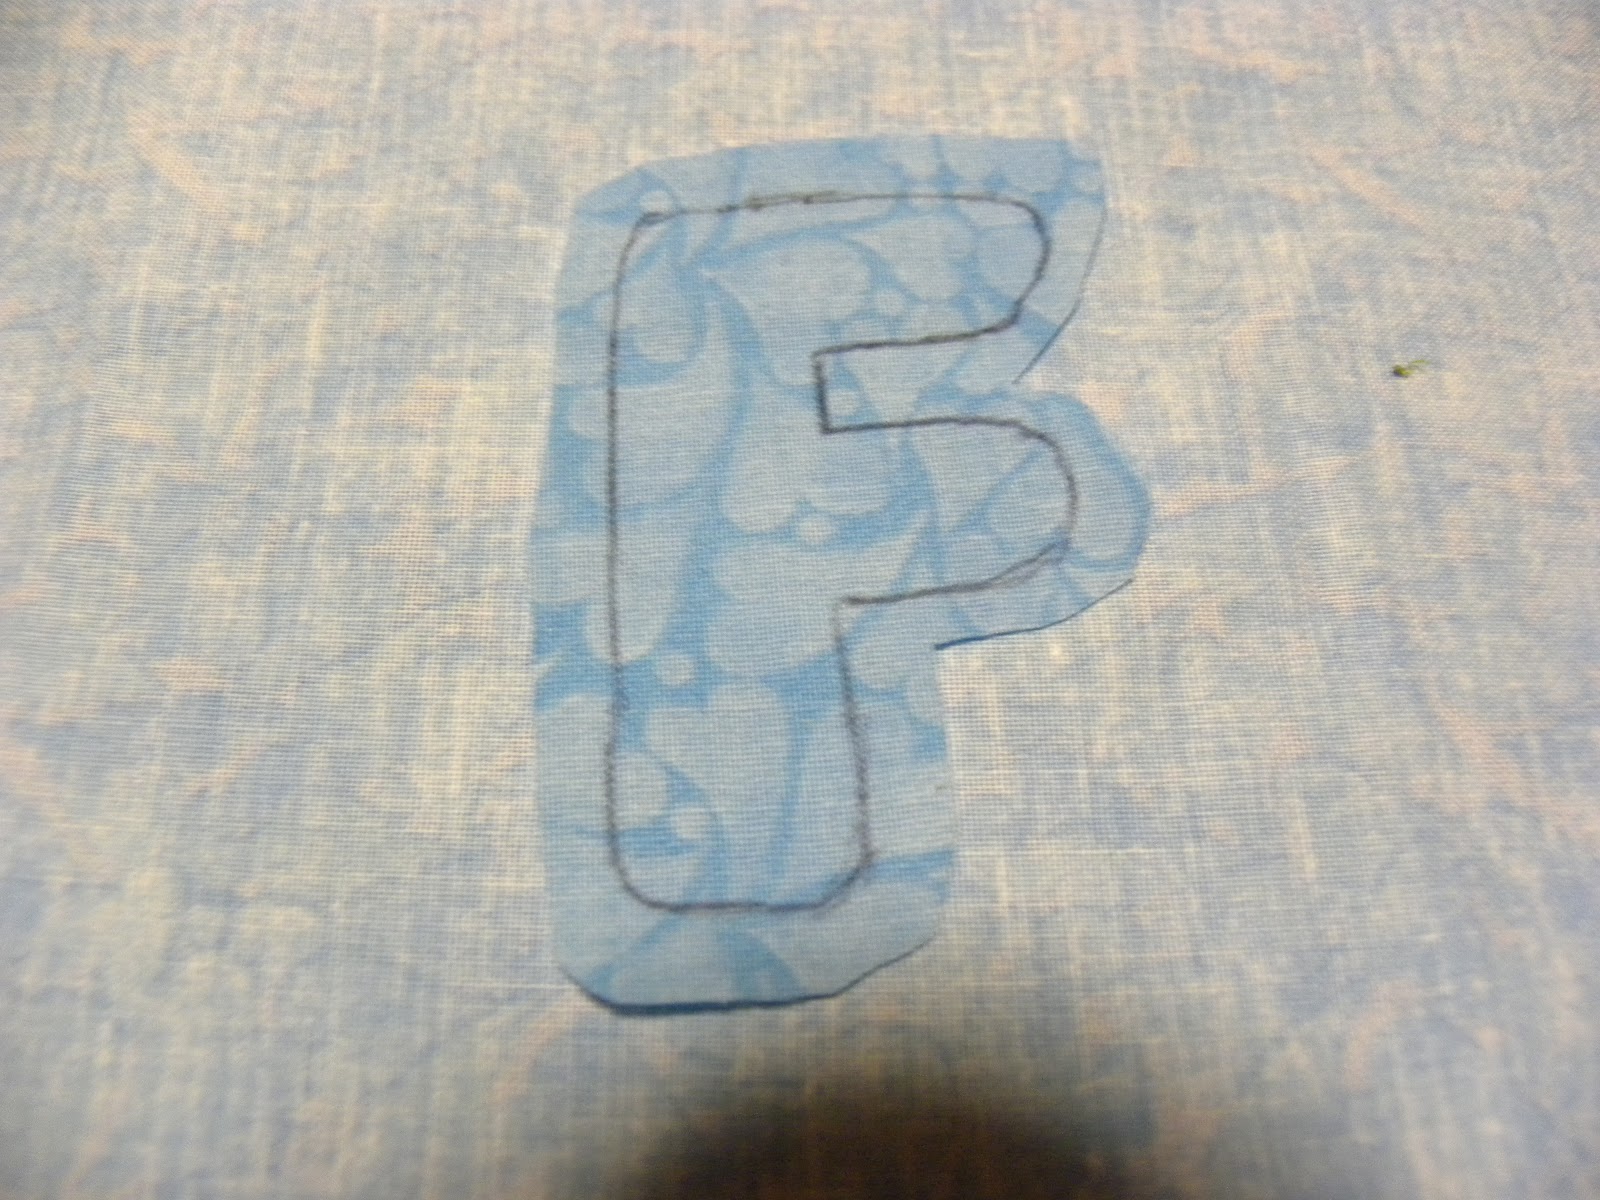
3. Using a pencil trace around each template on your fabric. If you have a dark fabric, you will want to use a white or yellow pencil. You could also you a disappearing or washable fabric maker. I like the disappearing maker best because if you have to put your project away the line will not disappear.

4. Cut around the applique, adding a scant 1/4" seam allowance all around. Remove the applique template from the fabric.

6. Now you are ready to start sewing. Start at a straight area on one edge of the applique, use the tip on the needle to turn under the seam allowance. Do about 1/2" at a time. Clip the seam allowance as needed in curved areas. Sew in place using a "blind stitch". Your thread should match your applique fabric.


7. If your applique is layered you want to add each layer and sew in the same way you did the first piece.
I will be sharing fusible web applique is a future blog.
Janie
I was just searching for tips on needle turn appliqué and found your blog. :) Nice, well-written instructions. Thanks!
ReplyDelete