A few weeks ago I saw some these letter on Pinterest http://pinterest.com/brainyjanie/alphabet-letters/. When I saw this I thought what a great idea for a baby quilt. Here are my the first three letters a tutorial on how I made them. I am not making these in alphabetical order
General Directions
For all the letters I used this site. http://www.yourchildlearns.com/Alphabet/giant-alphabet-letters.html
I reduced the size to 85% and then printed it with two on a page to get the size I wanted. This is just what I did, you can make the letters any size you want.
For the background I cut them 9 inches square. I am planning on trimming them to 8 1/2 inches unfinished after I have appliqued. I always make my background larger when I applique.
What kind of thread. The thread , especially if using cotton needs to match your applique piece. The best is a silk thread. It disappears more easily into your piece. If using silk the color you use doesn't matter as much.
Directions for C-Caterpillar

!. Cut out your C pattern. I only used this as a guide to how many circles I would need.
2. Draw & cut out a circle the size you want your caterpillar rings. I used my C pattern to decide this.

3. Draw your pattern on fusible webbing. Draw as many circle I use will need for your caterpillar. I made 10 circles

4. Sew a running stitch on the line you drew.


6. Make an opening in the fusing and turn it right size out.


7. Do this with all ten circles. On the one you want to be the head make a face. I did it with a permanent Sharpe marker. You could also stitch the face on.

9. When you have all ten circle connected you will stitch them on to the background piece. To do this I first fold my background piece in half both vertically and horzitcally. I then pin the caterpillar so it is centered on my background. I then stitch it down, making sure I am hiding my stitches. Lastly I add the antenna using either a permanent marker or embroidery stitches.
Directions for the letter I- ice cream

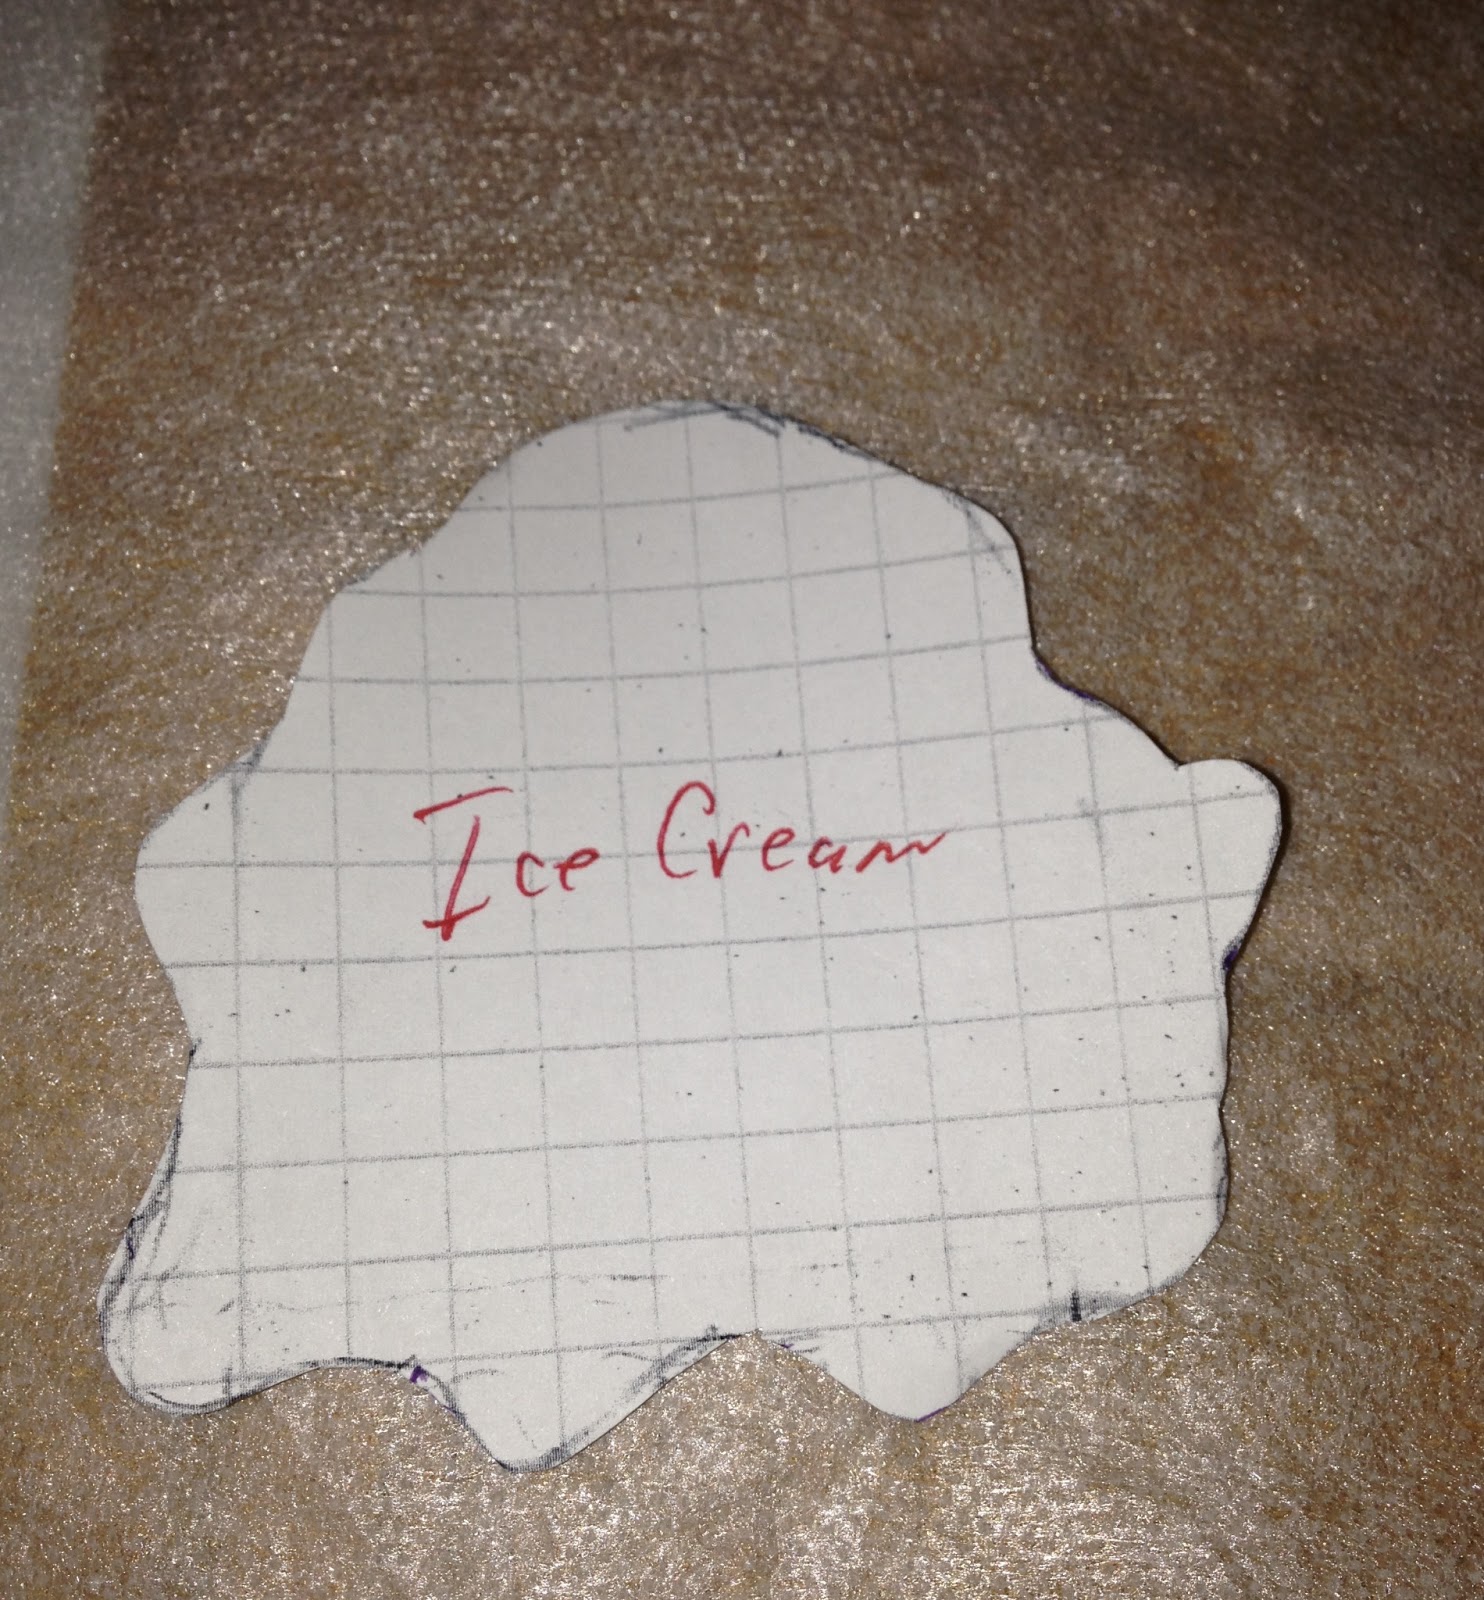
1. I printed the letter "I" using the directions from above in General Directions. I traced the I on a piece of paper using that as my cone. I then drew the scoop of ice cream on top.

2. I traced the I on my cone fabric and cut in out with a scant quarter inch. I forgot to take a picture of this step, but in the picture below you can see my drawn line and my cutting. The fusible web does not work well on letters so I did them all needle-turn.
3. For the ice cream I used the fusible web. You will do this the same as the circles for the caterpillar. I like to use this when ever possible. This works best on pieces that are uniform, such as circles, oval, squares, rectangles. You need to be able to turn your piece inside out.
3. Lay both the cone and the scoop in the center of your background fabric. After you have them where you want them pin in place.

4. Last sew your pieces down.
Directions for letter J - Jaguar

1. Print the letter J. Cut out and draw on a piece of paper. Add the head, limbs and tail.
2. Make a copy of this drawing so you can cut out the pieces.


4. Next put the face pieces on the head. This can be done with fabric and embroidery or with permanent marker. I chose to do it with fabric and embroidery. For the eyes I used a piece of white felt. I cut the eyes out and attached them with a permanent glue. I used Aleene's Fabric Fusion. For the pupil I used embroidery thread and made a French Knot. I used all six strands and a large eyed needle. I brought the needle through the background fabric and the felt eye. Using my silk thread I tacked down the eye with small stitches. I wanted to be sure my eyes stayed on. For the nose I cut a piece of black fabric in a small triangle and attached it using needle turn applique. For the mouth I used embroidery floss. I used 3-4 strands. I used a back stitch on the mouth.

5. Pin the jaguar onto the back ground piece. As in previous letters make sure it is centered. When I did it I did did the body before the face. Also as you can see if the picture I changed the fabric I used for the face.

6. Next you want to sew the Jaquar on. I started with the top left of the J. I continued until I came to the tail. I then did the tail. After I went back and continued where I left off of the J. I did the same when I came to the arms & legs. I continued on and finished up with the head.


I will be adding more letters. Keep a watch out for them.
Janie
No comments:
Post a Comment