Saturday, September 8, 2012

Rag Quilt


Hi

Here is a rag quilt that I just finished.   It was basically a very easy quilt, but I learned a lot of lessons while making it.   I would like to share things I learned as well as how to make this easy quilt.

In July I was at a Quilt Store in my area and I saw this cute rag quilt hanging.   It had the pattern with it, but I thought it looked so easy I didn't need to buy the pattern.   I had the clerk help me with the amount of material I needed.   When I got home I put the material away, because I was working on a different quilt.  Fast forward until September.   I was ready to work on the quilt, but the problem was I couldn't remember the pattern.   First lesson I learned is to make notes of what the quilt should look like.  

Since I didn't remember the pattern I made up one of my own.  
As you can see I used five fabric in a diagonal pattern.   I did the same pattern in the back but with only three fabrics which is what I had left.

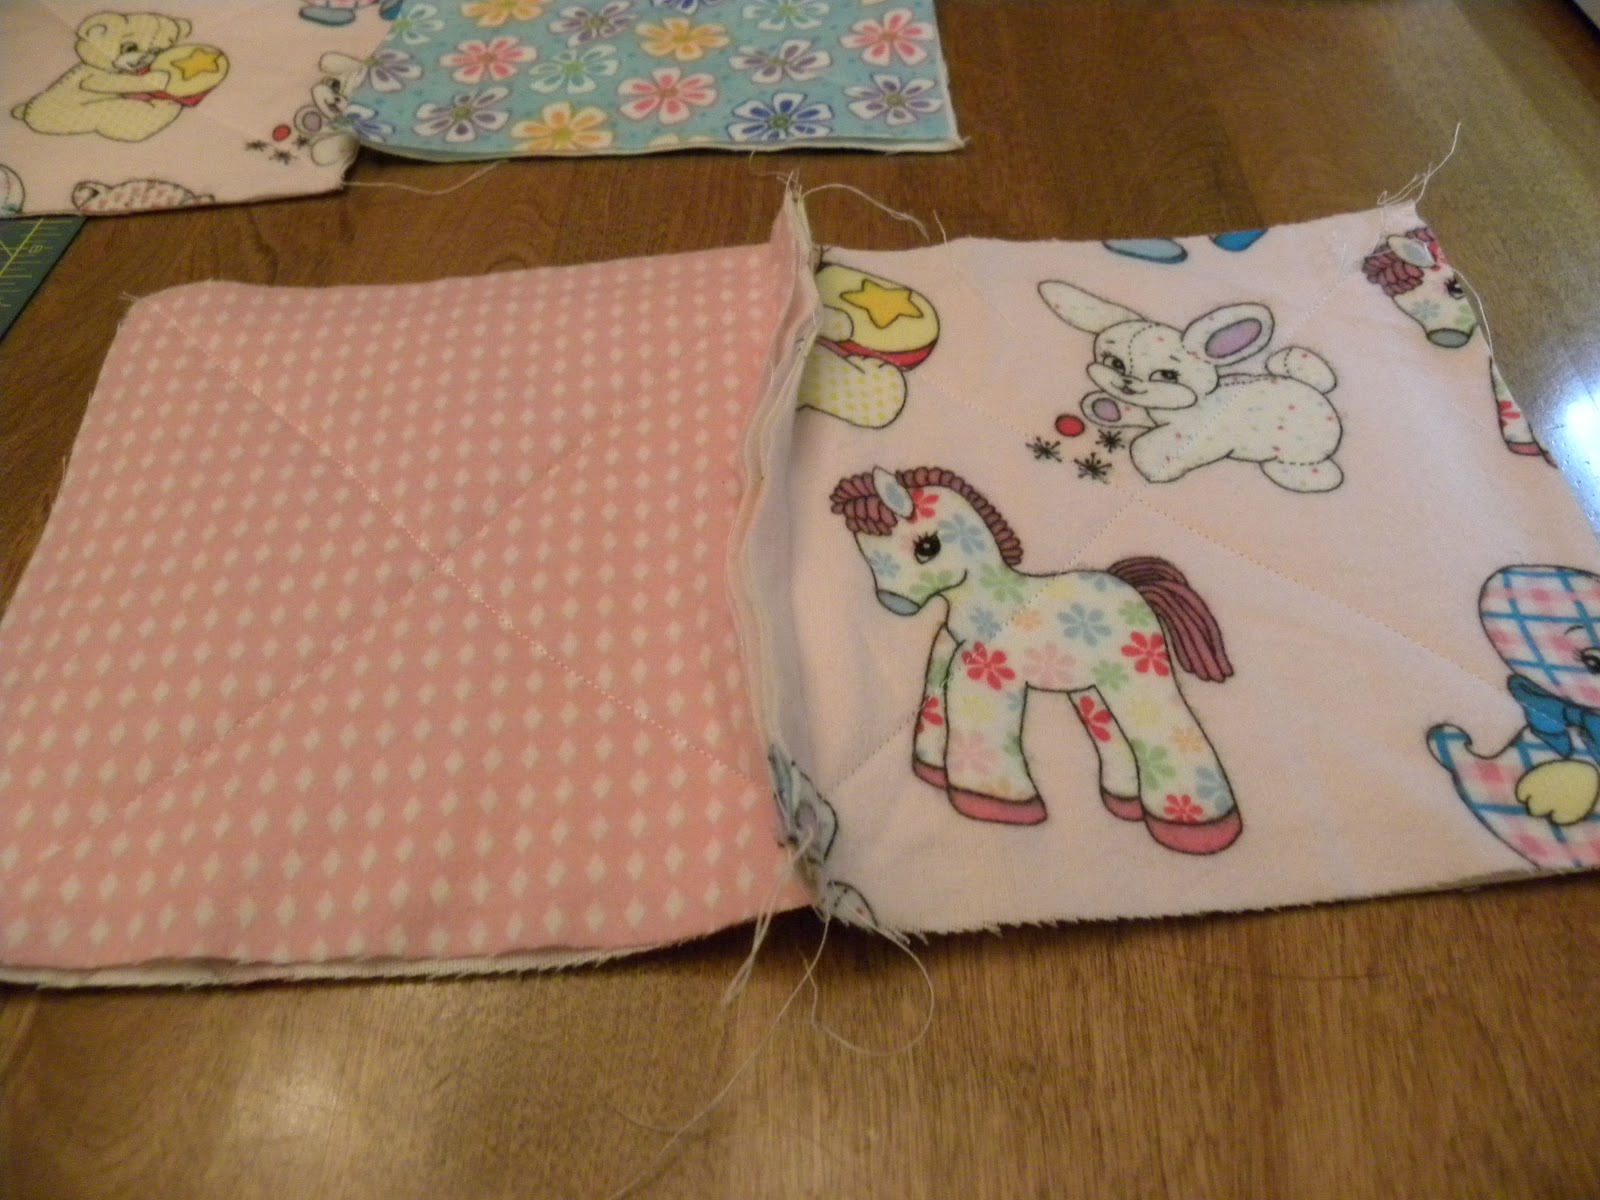
I carefully matched up a square from my top and one from my bottom and sewed them together (Later I will show you how to do this.)   I sewed them into rows and sewed the rows together.   I thought everything was fine until I sewed my rows together and found that I had sewed the same fabrics next to each other.   I took the rows apart and tried it again.   The same thing happened, no matter how hard I tried I had blocks with the same color next to each other on either the front or back.   I finally decided that I would just do the front mixed up (no pattern like I planned) and do the same in the back.   I tried it one last time.  The front came out perfectly, but the back had like squares next to each other.   I decided that I was done and just left them that way.  

Now for the lesson I learned to make it easier.   I would leave the front the same, but the back I would either do in the same fabric or I would make it very scrappy so no two fabrics could be next to each other. 

* If you know a way to do a design on both the front and back of a two sided quilt and would love to know.

Now for how to make a rag quilt

DIRECTIONS

1.   For 5 fabrics you will need 1/2 yard of each fabric. This will do one side of the quilt.   Cut  the fabric into 7 inch squares.  These will finish at 5 inches.

2.  Cut the batting into 6 inch squares. (This is a great project to use left over batting from other project.  I used left over batting so I'm not sure how much you should buy.)


3.  If you are going to have a pattern to the front of your quilt lay it out.   After you lay it out take a picture of it or write yourself notes so you know how it is suppose to look.   Like I mentioned above maKe the back scrappy or the have same fabric so you don't need to lay anything out.  


4.  Place the back ground square face down center the batting square on it and lay the front square on the top.   This is down the same way you layer your quilts for quilting.  


5.   Pin the three layers together and quilt.  I just used a simple X, but you could quilt it anyway you wanted.


6.   Lay the quilted square out in the same pattern you had before.  Refer to your picture or notes or placement


7  Sew the blocks together to make rows.,   Place the back of the quilt right sides together.  Sew with a 1/2 inch seam.   If the seam is a little larger that is ok.  You just want it to be at  least 1/2 inch and to be consistent.   When the seams are sewed your seam with show on the top on your quilt. 


8.   Continue to add a square in the same way until you have your row complete.   Do the same with each of the rows.   My quilt has six squares in a row and seven rows.


9.  Press your rows in alternate directions.  Press the odd rows to the right and the even to the left so your blocks will lock and you will have straight intersections.  

10.  Pin the first two  rows together and sew them.  


11.  Continue to add rows until you have all the rows sewed.

12.  The last thing you will sew is a  1/2 inch (or whatever seam allowance you have been using) around the  perimeter of the quilt.


13.  Take a pair of pointed scissors and snip the seams at 1/2 inch segments on all the seams of the quilt.  You want to snip to the seam, but not snip the seam. 


14.  After you have snip all the seams including the perimeter.  Throw the quilt into the washing machine.   I used my how washer since it was a small quilt.   I know a lot of people take it to the laundromat.  

15.  I looked through the internet for the way to wash it.   This is what I did.  I put it in the washer with woolite.   I washed it on a vigorous agitation with an extra rinse.   I thought you want the edges to fray so you want a lot of agitation.    They I dried the quilt on a hot setting.  Here is a close up of the quilt after I washed it.


16   Here is a picture of the front and the back of my finished quilt.


Sunday, September 2, 2012

Fabric Organization

Hi

As I mentioned in my last blog I have been working on organizing my fabric.   A couple of years ago  I decided that my fabric needed some organizing.   It was a mess.  It was all over the place.   What I decided to do was put it in different size boxes by color.   Here is a picture of my previous organization


It looked like I had found a good system.   If the quilts I made were done in one of two colors this system would have been great, BUT I love to do multicolored quilts.   So when I got ready to do a quilt I needed to go through many boxes of fabric to find all the fabrics I needed.  Also because they were crammed into the boxes they needed to be pressed before I could use them.    I was getting frustrated again.

Fast forward to this summer.   I was reading through the Quilters Board ( http://www.quiltingboard.com/forum.php)  When I came upon this method of organizing your fabric.   It was just what I needed, so here is what I did.

1.  I bought foam board and poster board.   I cut the foam board into 11 X  8  inch. pieces  and the poster board into 4 X 6 inch pieces.   The size you make your boards are up to you.   I tried the poster board for the larger pieces but it was too flimsy and it bent.   I worked well for the smaller pieces and took up less space.

2. I took one box and divided it into 3 piles.  One pile were large pieces that fit around the width (8 inch) of the larger pieces, the second pile pieces that would fit the 4 X 6 boards and the third pile scraps that were too small.

3. I  took the pile with the largest pieces.  The first thing I did was iron them.   This step is optional, but my fabric was so wrinkled that I wanted it more ready for use.

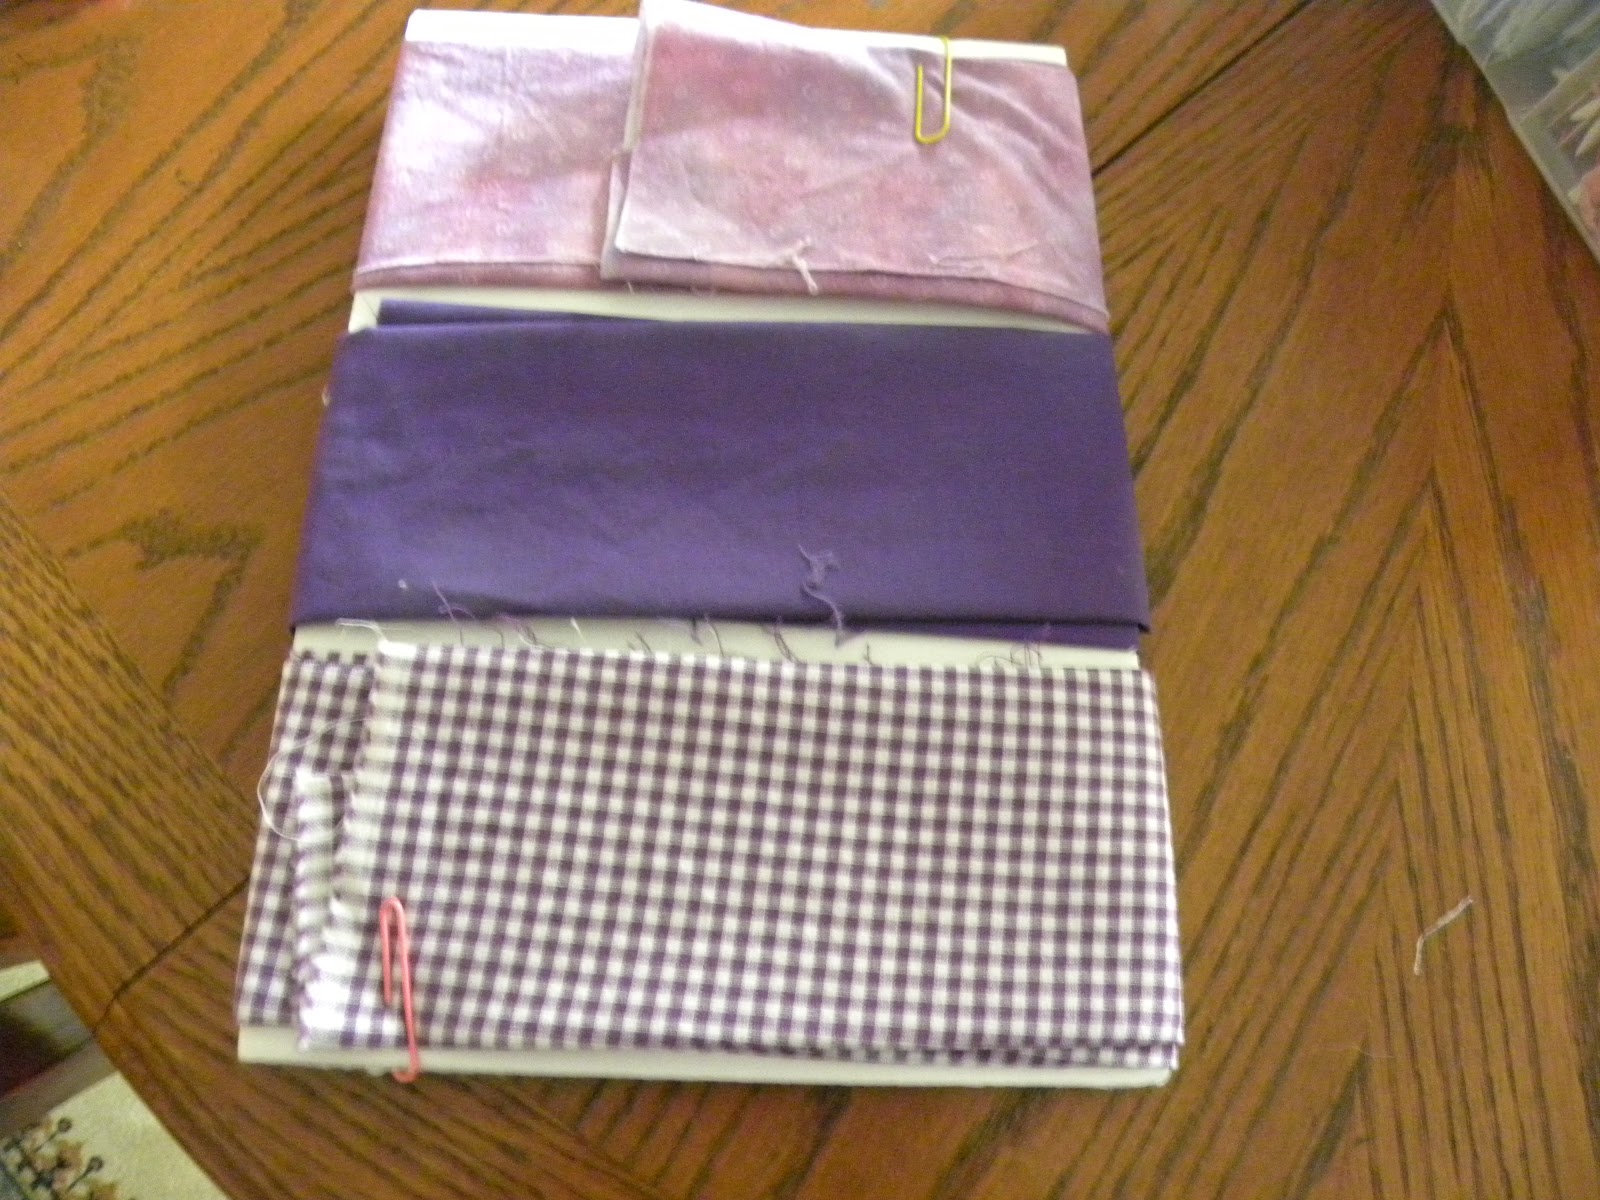
4.  I folded the fabric lengthwise so that it would fit on the board.   I then wrapped the fabric around the board and held it together with a large paper clip

If the fabric was wide enough to go around the board, but not much length I put more than one piece on a board.  I did make sure that if I put more than one fabric on a board that it was the same color.


5.  I took the pile that would fit the smaller board and did the same thing as I did with the larger boards.

6.  With the remaining pieces I put into shoe boxes.  I organized these by size not color.   I looked to see what shapes I had.   I had a lot of strips, so I put them in one box.   The other two boxes were squares & rectangles and odd shapes.   You will need to see what you have to how you want to organize them.   If do more pieced quilts than applique you might want to cut your smaller pieces into different size squares and rectangles so that they are ready for use.

7.  I repeated this process with the remaining boxes.

8.  After I had all the fabric wrapped, I put the larger pieces by color on the shelves.   I put the smaller wrapped pieces into clear boxes that I had used previously and also put them onto the shelf.


So that is the way I have organized my fabric.   I finished it a few weeks ago and it seems to be working well.   Here is a picture of the shelves.


Wednesday, August 8, 2012

How to Make a Wonky Block


Hi

Its been awhile since I have shared.  I have been busy working on organizing my fabric.  I am still working on it and will share with you when I am done.

I belong to an online  quilting board http://www.quiltingboard.com/forum.php.  One of the other members showed an interest in this quilt and I offered to show her how to make it.   As I was replying to her  private message I decided to do it on my blog, so I could share it with more than one person.  Since I didn't take pictures as I made the quilt, I made a sample using a different focus fabric.


Directions

1.  Fussy Cut your focus fabric.  - To fussy cut means that you are cutting out a motif rather than just randomly cutting as in usually done.

                 
2.  Cut fabric into strips.   I found it best if it was between 1 inch to 2 1/2 inches.   You want the length to be long enough to fit what ever size your sewing on.   Longer strips work better

3.  For the first frame around you focus fabric I used the same fabric.  The first two sides I used a narrow strip piece.  And for sides 3 & 4 I used a wider strip.  You start your first strip on the right side and continue  clockwise.   I sewed on the strips and then trimmed them.  As you add each strip you want to press.  Since my iron is not near my sewing machine, I just finger press as I add my strips


4. For the first three sides I didn't trim the fabric. but I the forth side (which was the top of the focus square) I made an angle cut.   There is no right or wrong way to cut the fabric.  Just lay your rotary cutter on the fabric whatever way you want I cut.


5  You continue to add strips in a clockwise pattern.  With each strip you add make an angled (wonky) cut.


5.  Sometimes the fabric is angled and doesn't line up for you to add your next strip.  If that happens just lined it up the best you can and cut off excess after you sew on your strip


6.  Continue to sew on strip until the square is larger than you want your final square to be. As it seems to be getting to the right size check it frequently so as to not waste fabric   For example in the square below when I checked it with my ruler I found that I needed to add more.


7.   When the square is big enough lay your ruler on to square it up.   You might want to lay it at different angles on the block to decide which you like best.  


8.  When you decide how you want your block to look, take your rotary cutter and trim it to the size you want.  Don't forget to figure in your seam allowance.  Press after you finish your block.


9.  You will continue the same method with the remaining blocks.  To finish the quilt top you will sew the block into rows and then sew the rows together.  This is the only place you are matching, so remember to nest your seams.


Sunday, July 15, 2012

Fusible Applique

Hi

Last week I shared how to do "Needle-Turn Applique."   Today I am going to share how to do "Fusible Web Applique."  This is my favorite applique technique.  It is an easy, quick, and accurate method.   Pieces are cut without having to turn under the seam allowance.  The only extra supply you will need is the fusible webbing.  Fusible web can be bought at most fabric stores, like JoAnn's.   I buy my fusible by the yard.  I like a fusible that is thin, but not so thin that it tears easily.

Directions


1.  Feel the webbing.  There is a smooth side and a "dotted" side. You want to trace your cut  pattern pieces on the smooth side, with either a permanent fabric marker or a pencil.  You want to make sure you leave plenty of space between the pattern pieces, between 3/4" and 1".  If your pattern has any dashed lines, also trace them.


2.  Roughly cut the pattern pieces out.  You want more than 1/2" between each piece.


3.  Pin the fusible web pieces on the fabric.  Roughly cut out.


 4.  Using a small running stitch sew on the line.  Sew all the way around the piece.  If your piece goes underneath another piece, you can leave the part that is covered open.


 5.  Cut the pieces out using a scant 1/4" seams allowance.  If your pattern has many curves, you might want to do some clipping.


6.  If your piece has an opening, gently turn it inside out through the opening.  If your piece is closed, gently pull the webbing away from the fabric and make a small slit. Gently turn right side out through the slit. Gently poke the points with a pointer tool.   If your pattern has more than one piece, put this away until you have all your pieces complete


7.    Your applique is now ready to sew on your background fabric.  I sew it down with a blind stitch   I prefer to sew my pieces down before I press them.  This is because it is easier to remove hand stitching, than it is to remove fabrics that have been fused together.


I hope that my directions for how to do applique have been helpful.

Janie