Sunday, July 15, 2012

Fusible Applique

Hi

Last week I shared how to do "Needle-Turn Applique."   Today I am going to share how to do "Fusible Web Applique."  This is my favorite applique technique.  It is an easy, quick, and accurate method.   Pieces are cut without having to turn under the seam allowance.  The only extra supply you will need is the fusible webbing.  Fusible web can be bought at most fabric stores, like JoAnn's.   I buy my fusible by the yard.  I like a fusible that is thin, but not so thin that it tears easily.

Directions


1.  Feel the webbing.  There is a smooth side and a "dotted" side. You want to trace your cut  pattern pieces on the smooth side, with either a permanent fabric marker or a pencil.  You want to make sure you leave plenty of space between the pattern pieces, between 3/4" and 1".  If your pattern has any dashed lines, also trace them.


2.  Roughly cut the pattern pieces out.  You want more than 1/2" between each piece.


3.  Pin the fusible web pieces on the fabric.  Roughly cut out.


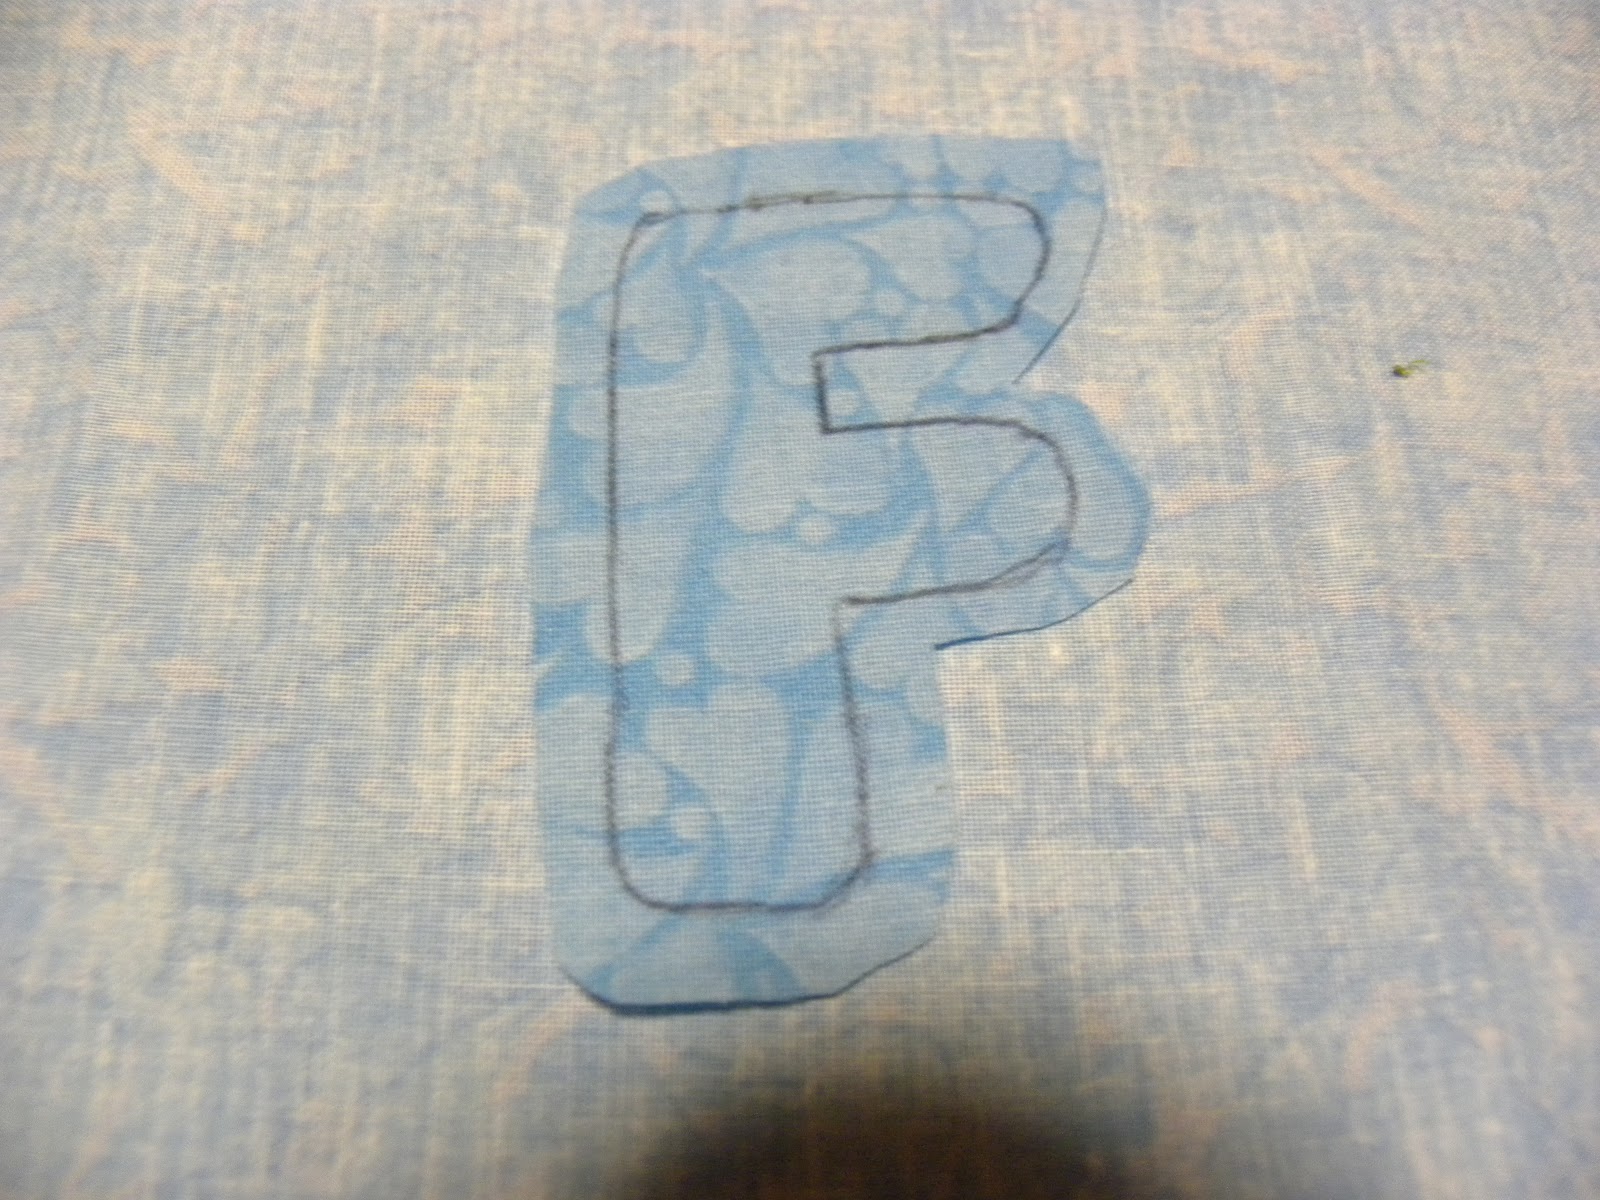
 4.  Using a small running stitch sew on the line.  Sew all the way around the piece.  If your piece goes underneath another piece, you can leave the part that is covered open.


 5.  Cut the pieces out using a scant 1/4" seams allowance.  If your pattern has many curves, you might want to do some clipping.


6.  If your piece has an opening, gently turn it inside out through the opening.  If your piece is closed, gently pull the webbing away from the fabric and make a small slit. Gently turn right side out through the slit. Gently poke the points with a pointer tool.   If your pattern has more than one piece, put this away until you have all your pieces complete


7.    Your applique is now ready to sew on your background fabric.  I sew it down with a blind stitch   I prefer to sew my pieces down before I press them.  This is because it is easier to remove hand stitching, than it is to remove fabrics that have been fused together.


I hope that my directions for how to do applique have been helpful.

Janie

Monday, July 9, 2012

Alphabet Quilt & Needle-Turn Applique

Hi

My family is watching the baseball Home Run Derby so I thought I would add something new to my blog.
A few months ago I made an alphabet baby quilt.   My daughter teaches preschool and ask if she could have it for her class room.   Here are a few pictures of the quilt and her students playing on it.


The quilt around the doll is also one that I made.

Hand Applique

In the next couple of post I thought I would share with you some ways to hand applique.  There are the two methods that I have used for applique. The two methods are needle-turn and fusible web applique.    Instead of doing them all at once I thought I would do one each time.  The first one that I am going to teach you is


Needle Turn Applique


Needle turn applique is the most traditional form of applique.   You need no additional supplies  than a needle and thread.   It is the method that you will want to use for very narrow or small pieces


Directions

1.  Trace your pattern.  You can use many different kinds of material.  It can be traced on paper, light cardboard, or freezer paper.  If using freezer paper trace the pattern on the unwaxed(dull) side.  If the patterns are directional, reverse them.  Cut out the templates on the traced lines.  If you are using a pattern that you can cut out, you can skip this step.


2.  Place your templates on the right side of your chosen fabric.  Leave at least 3/4 of an inch between each piece, if tracing more than one piece.


    If you are using paper or cardboard templates, you will want to pin or baste them to the fabric, so they don't slip.   For freezer paper templates, place the shiny side down on the right side of the fabric, using a dry iron attach them to the fabric


3.  Using a pencil trace around each template on your fabric.  If you have a dark fabric, you will want to use a white or yellow pencil.  You could also you a disappearing or washable fabric maker.   I like the disappearing maker best because if you have to put your project away the line will not disappear.


4.  Cut around the applique, adding a scant 1/4" seam allowance all around.  Remove the applique template from the fabric.


5.  Position the applique pieces on the background fabric and pin or baste in place.  If your applique has layers to it, after you have seen how you want your pieces to look remove the top pieces and sew down the bottom piece first .


6.  Now you are ready to start sewing. Start at a straight area on one edge of the applique, use the tip on the needle to turn under the seam allowance.  Do about 1/2" at a time.  Clip the seam allowance as needed in curved areas.  Sew in place using a "blind stitch".   Your thread should match your applique fabric.


7.  If your applique is layered you want to add each layer and sew in the same way you did the first piece.


I will be sharing  fusible web applique is a future blog.

Janie


Monday, July 2, 2012

Hi

This is the second day of having a blog.   I thought that I would share with you some of the baby quilts I have made.   If you would like the directions for any of these quilts, let me know and I will give the directions on this blog.   Also, if you would like me to make any of these quilts let me know that also.  

I made this quilt for my great nephew.   When I ask my niece in law what kind of a quilt she would like, she said she wanted hot air balloons.   When I ask her why, she said that is how Mark purposed to her.   This picture is before the quilt was quilted.


The giraffe on this quilt is from the web site Victoria Quilt Designs http://www.victorianaquiltdesigns.com/


This is a close up  of my wonky animal quilt.

 I hope you enjoyed looking a some of my quilts

Janie

Sunday, July 1, 2012

Here I Go

Hi Everyone

I have taken the plunge and started my own quilt blog.   My purpose for this blog is to share my love of quilting by sharing quilts I have made and doing tutorial on quilts I've made and basic quilting skills.  I had a quilt web site several years ago which I geared toward the new quilter.   I would like to do some of the same things in this blog

Let me introduce myself.    I am married to a wonderful guy named Ed and have three grown children, Jeff, Laurie & Katie.  Only one of them is married, Laurie.  She has been married for two years, but no grandchildren yet.   I live in Arcadia, Ca., which is in southern California.   I work as a substitute teacher.

My hobbies are quilting, of course, and reading.   I love to make baby quilts.   I don't have anyone I am making them for, but I love to do baby quilts.   Because they are smaller they go together more quickly and are fun to make.  I like doing both pieced and applique quilts, but as my blog title implies I like applique quilts the best.   I have been quilting for 15 years.  I am a  self taught quilter.  I learned to quilt through books and a TV shows called Simply Quilt.


Here are a few of the quilts that I have made.

I am looking forward to sharing more with you in future blogs

Janie